
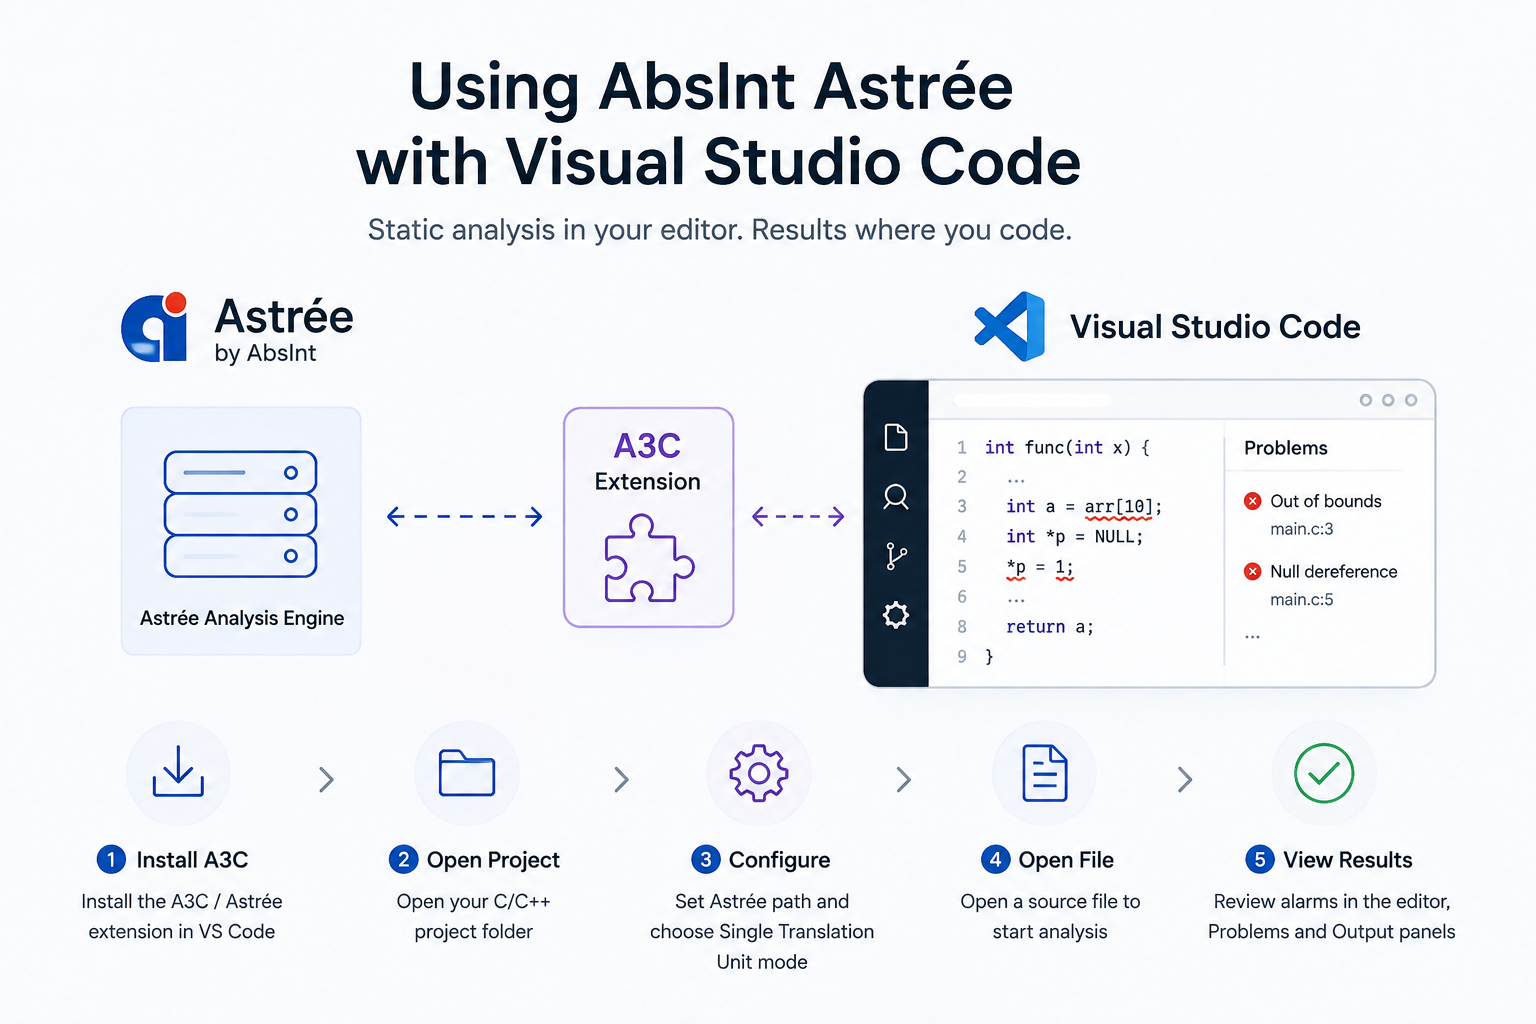
Installing and Using AbsInt Astrée with Visual Studio Code
AbsInt Astrée can be integrated with Visual Studio Code using the A3C extension, allowing developers to run Astrée analysis and review detected alarms directly within the editor.
Install and Configure A3C
- Open Visual Studio Code and press Ctrl + Shift + X.
- Search for the A3C / Astrée extension and install it.
- Configure the Astrée installation path if prompted.
- Open your C/C++ project folder in VS Code.
Once configured, A3C connects VS Code with Astrée and can automatically start an analysis when a source file is opened.
Running the Analysis
For Single Translation Unit analysis, go to:
Manage → Settings → Workspace → Extensions → A3C for C/C++ LSP Client
Change the view from Full Project to Single Translation Unit.
Now, when you open a source file, Astrée automatically starts the analysis. Opening another source file triggers a new analysis for that file.
Detected alarms appear directly in the editor as red squiggly indicators, with additional information available in the Problems and Output panels.
A single-click analyzes a file temporarily, while a double-click keeps the results available, allowing alarms from multiple files to be reviewed together.
You may also see a .dax file at the top level of an Astrée project:
Project/
├── project.dax
└── src/
├── main.c
├── module1.c
└── module2.c
The .dax file is not source code. It contains the Astrée project/analysis configuration and defines how Astrée should analyze the source code. This is why it is typically kept at the project level rather than inside the source directory.
See It in Action
The complete workflow is also demonstrated at approximately the 26-minute mark of our webinar:
Integrating AbsInt Static Analysis Tool with the KEIL Studio and using VS code
RELATED NEWS
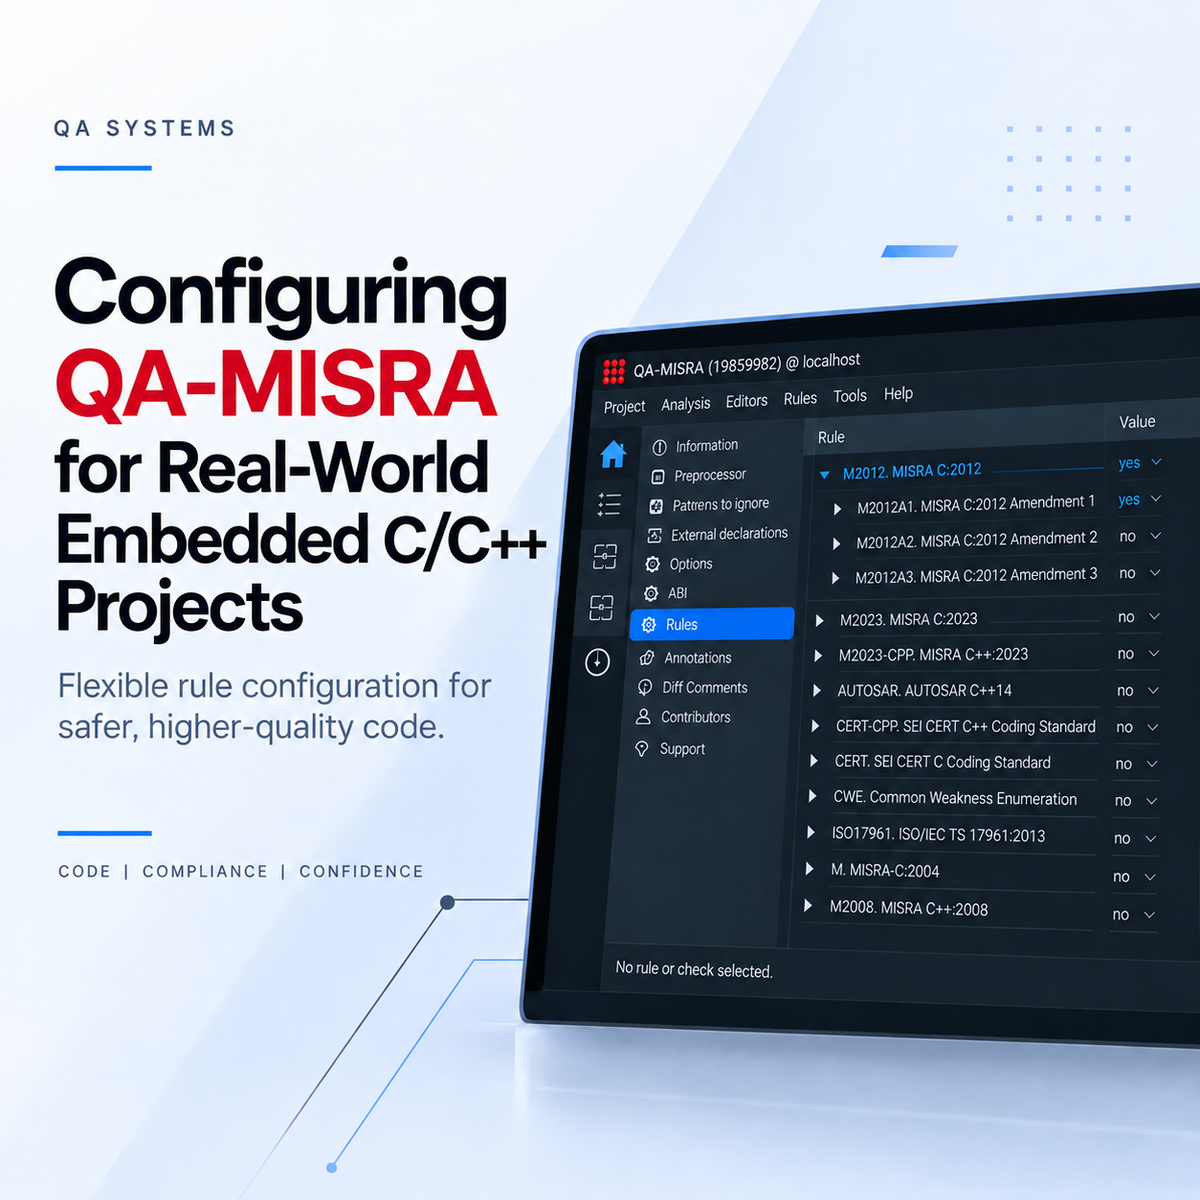
Configuring QA-MISRA for Real-World Embedded C/C++ Projects
Getting QA-MISRA running is only the first part of the setup. For an actual embedded project, you will usually need to decide which coding rules should be checked, how compiler-specific code sho[...]
Read more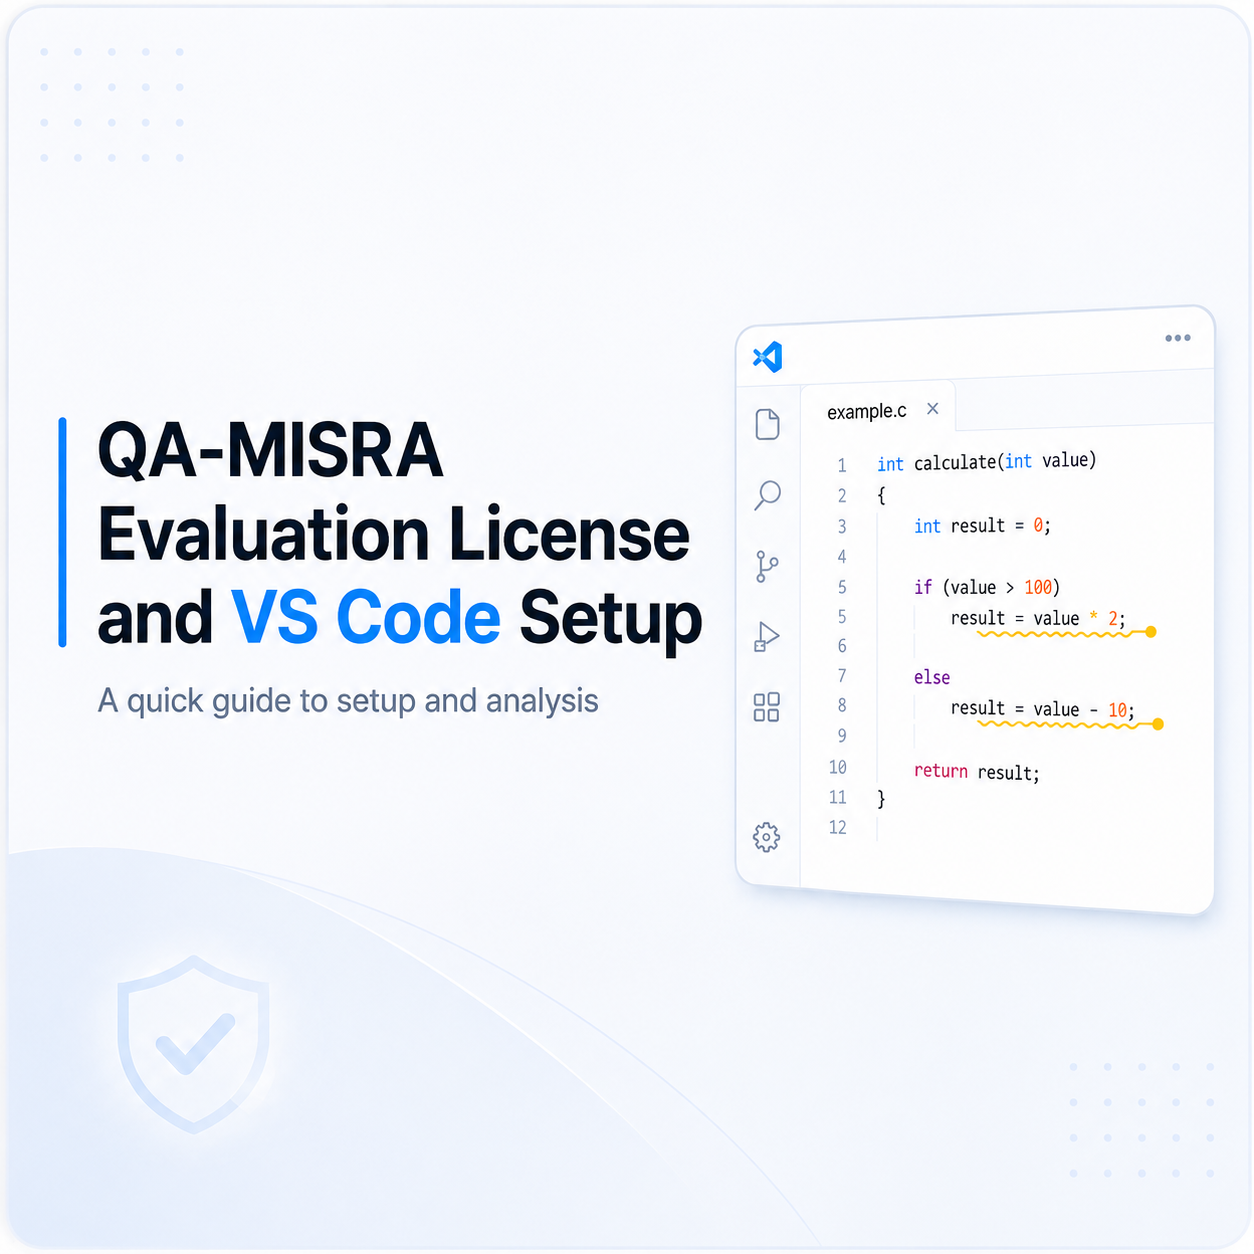
Setting Up a QA-MISRA Evaluation License and VS Code Extension
The following steps explain how to activate a QA-MISRA evaluation license, configure the local server, install the QA-MISRA extension in Visual Studio Code, and run an example analysis. 1. Requ[...]
Read more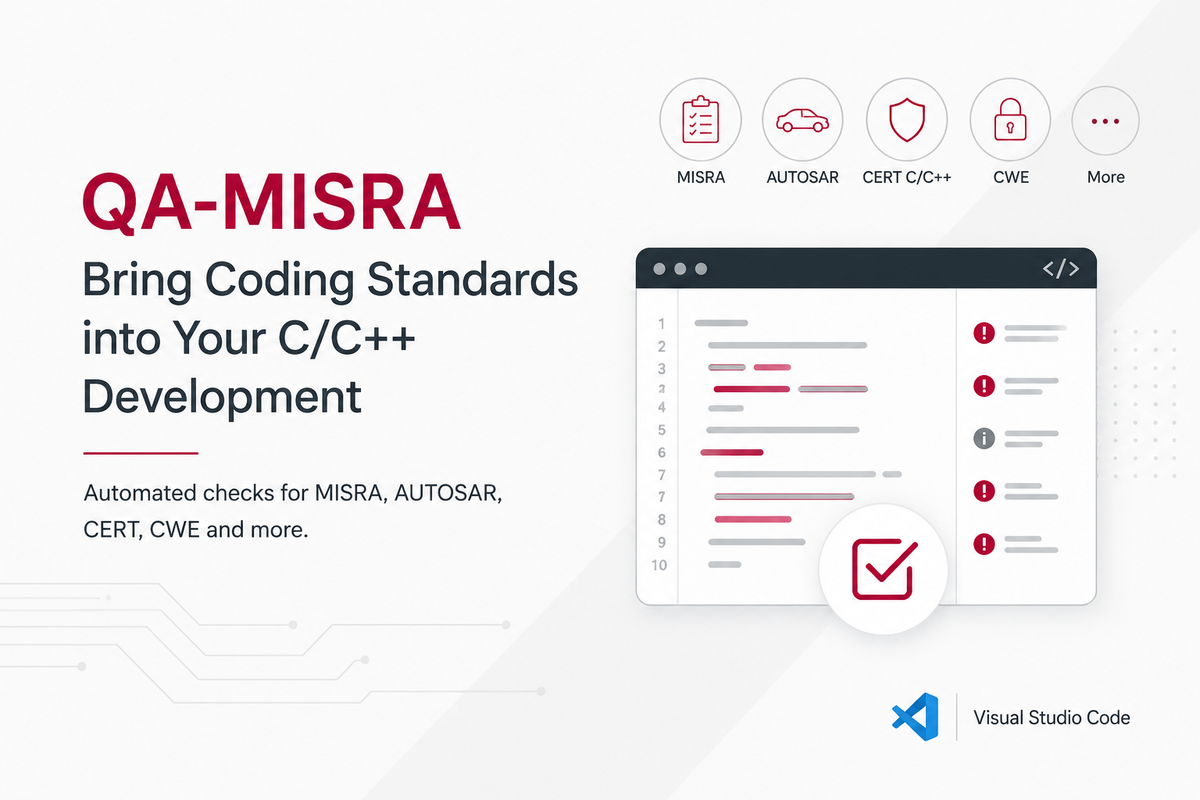
Using QA-MISRA to Bring Coding Standards into C/C++ Development
In embedded and safety-critical software, coding standards help reduce risky language behaviour, improve consistency, and make software easier to review and verify. This is especially important i[...]
Read more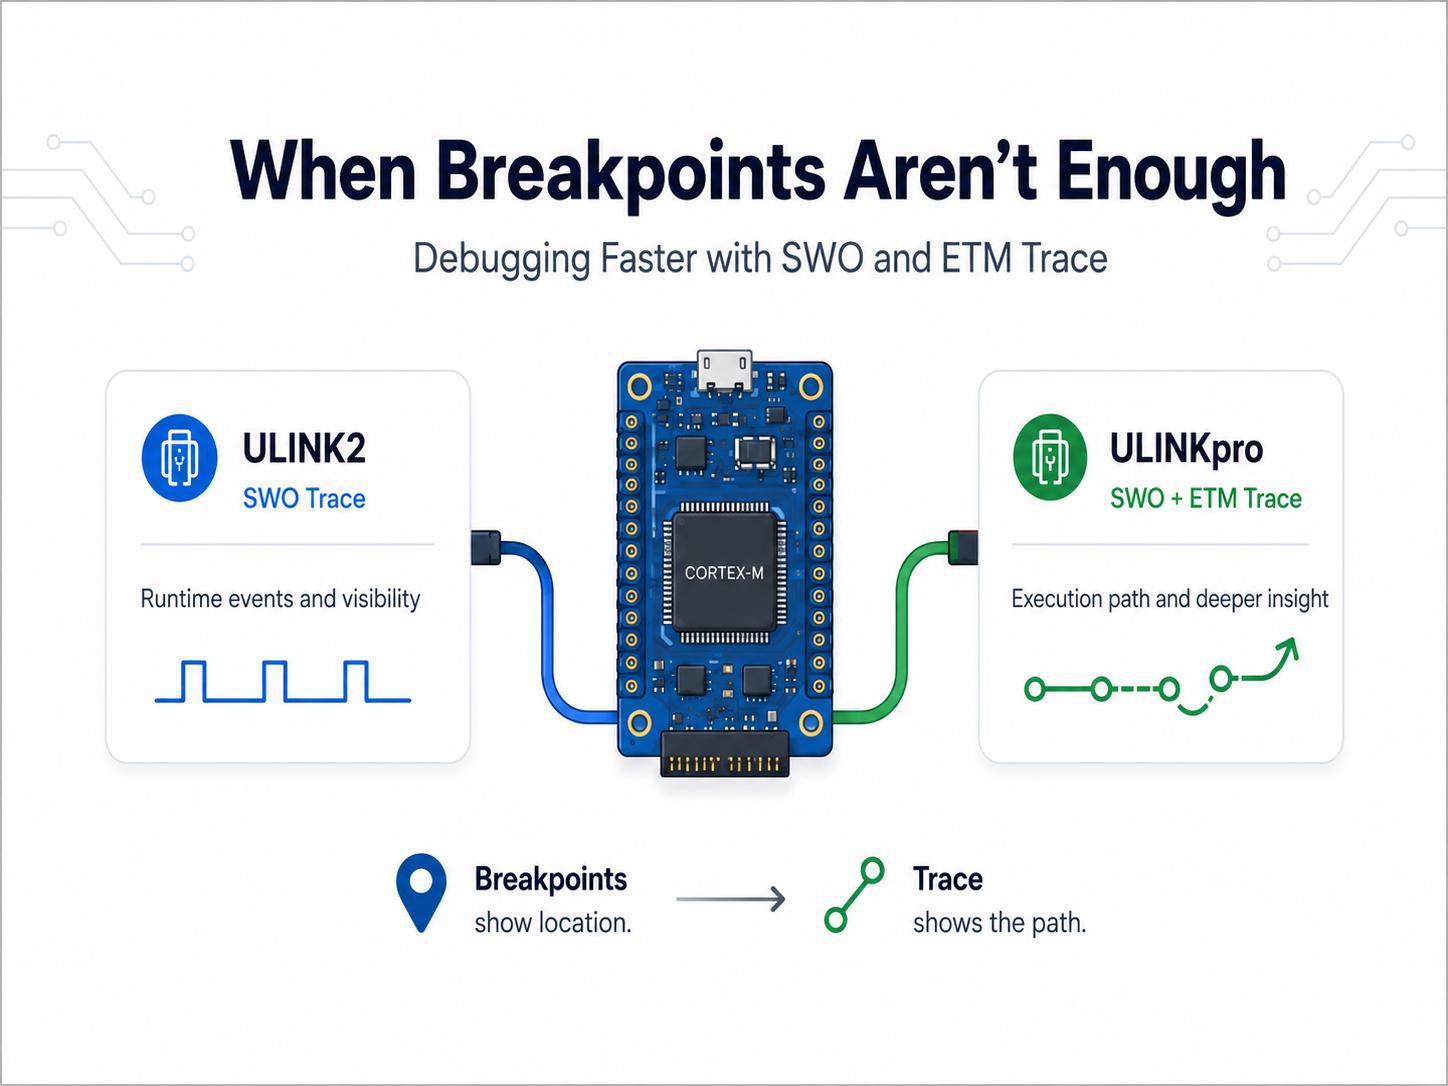
When Breakpoints Aren’t Enough: Debugging Faster with ULINKpro Trace
Most embedded developers are familiar with the usual debugging cycle: set a breakpoint, stop the processor, inspect the problem, make a change, and try again. That works well until the problem [...]
Read more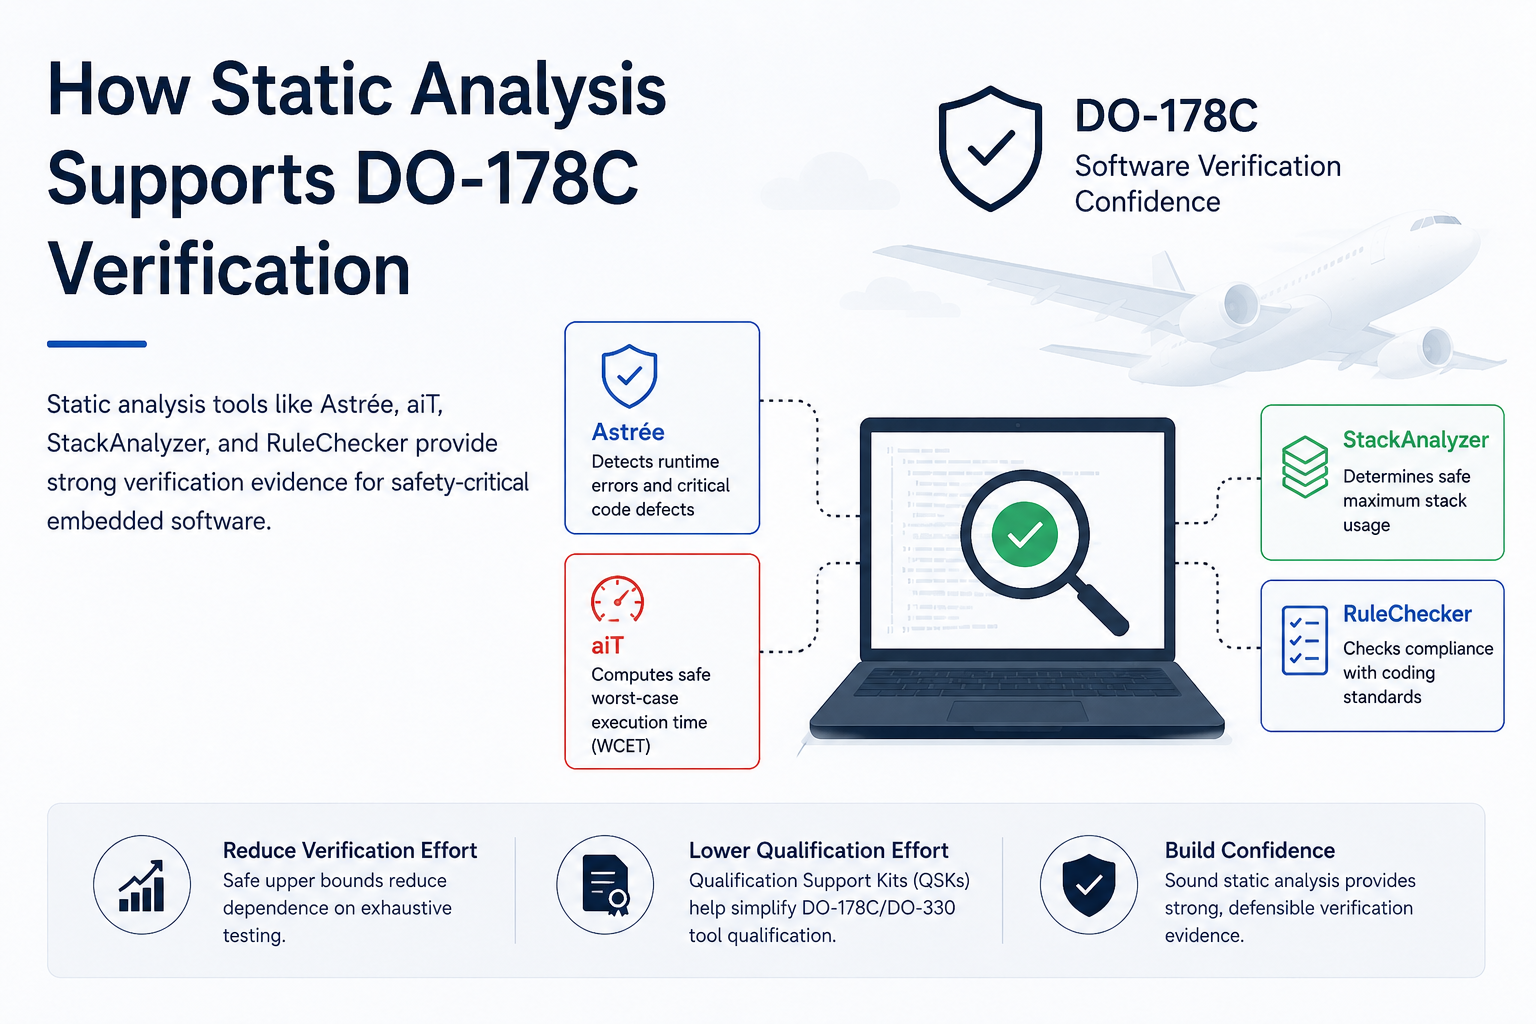
How Static Analysis Supports DO-178C Verification
Developing software for airborne systems requires strong verification evidence, especially for higher-criticality applications. DO-178C defines objectives for airborne software development and ve[...]
Read more
EMBEDDED IS EVERYWHERE

PRODUCTS
Manufacturers
Resource center