
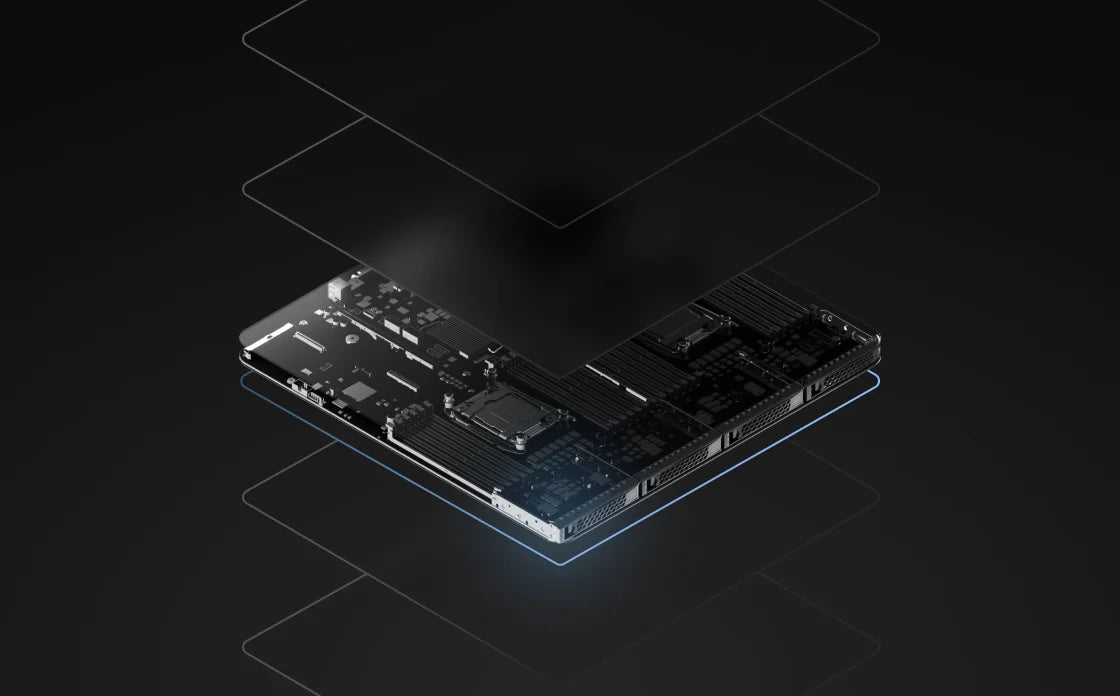
Embedded Debugging Tools: How Atlas Hardware Models with Arm DS IDE
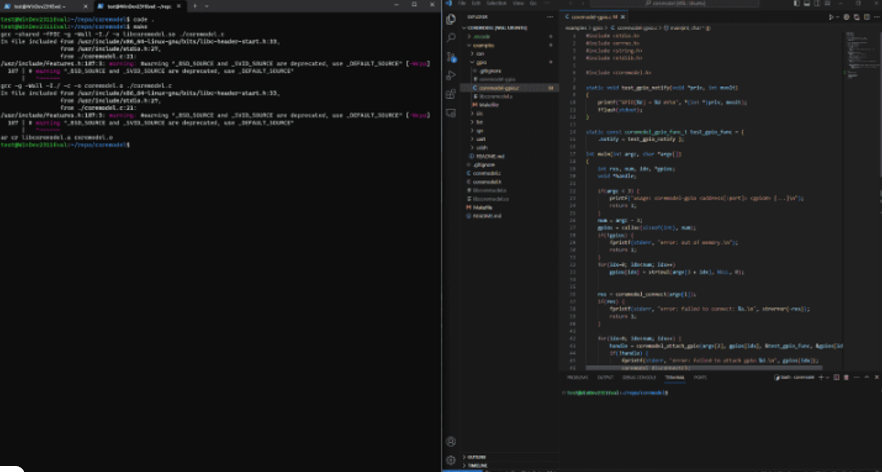
If you’ve ever tried to validate embedded behavior in a virtual environment, you know the pain: you can observe what the system does, but the moment you need to interact with it—drive a pin high, simulate a button press, flick an LED on and off—you’re suddenly deep in custom tooling, rewrites, and one-off scripts.
That’s exactly where I started in a recent customer engagement bringing up their system in Corellium Atlas.
CoreModel is the set of interfaces which we use to virtualize peripherals. We already provide a coremodel-gpio example that could monitor GPIO pins. Great for visibility. Not enough for real testing. I needed true bidirectional GPIO control—the kind that lets you build realistic scenarios, poke the SoC like real hardware would, and keep iterating without restarting your app.
I used Kiro’s spec-driven development flow to go from a rough idea to production-quality C code fast.
What You’ll Learn in This Guide
-
How to build interactive digital twin sensors using Corellium Atlas
-
How to control GPIO inputs and outputs in a virtual environment
-
How to use AWS Kiro’s agentic AI to generate C code from specs
-
How to automate embedded system testing with CLI commands
-
How to simulate real hardware behavior without physical devices
-
Why bidirectional control is essential for firmware validation
- How to speed up development with spec-driven design workflows
Here’s what that journey looked like—and why it changed the way I build low-level tooling.
Why GPIO Monitoring Isn’t Enough for Digital Twins
CoreModel is a C API library for remote peripheral interaction in Corellium virtual machines. It’s powerful, lean, and designed for serious systems work. But the GPIO example was limited to read-only behavior.
For my use case, that wasn’t just inconvenient—it was a blocker.
I needed to:
- Drive GPIO pins at specific voltage levels (0–5V)
- Monitor pins for real-time voltage changes
- Switch modes on the fly during runtime
- Control multiple pins at once
- Test interactively using a CLI (not rebuild-run-repeat)
I wanted to create a real board’s behavior—LEDs, buttons, bidirectional handshakes—inside a Corellium Atlas i.MX93.
That meant writing a new example that fit CoreModel’s patterns, used its select-based event loop correctly, and handling errors accordingly.
Using Agentic AI to Accelerate Development with AWS Kiro
Traditional path:
-
Start coding
-
Hit unknowns
-
Redesign mid-flight
-
Refactor
-
Repeat until it works
I needed to accelerate the development of the working solution to quickly hit a timeline for when it would be implemented. I couldn’t sift through every single line of code just figure out how to connect the pieces of the API together.
Instead, I used Kiro’s spec feature.
Specs allowed me to move quickly through the problem in order:
-
What needs to exist
-
How it should work
-
What tasks get us there
-
Then code
Step-by-Step: Creating Spec-Driven GPIO Controls
That structured approach enabled me to be able to focus on delivery of a working solution faster than reading documentation and reviewing my code line by line.
Step 1: Requirements from the Spec
I had Kiro write a requirements spec that included:
- 5 clear user stories (output control, input monitoring, runtime commands, docs, error handling)
- 17 measurable acceptance criteria (so “done” was unambiguous)
- Firm boundaries on scope (to produce a working MVP)
Kiro made these into clean, testable requirements. The biggest win wasn’t documentation—it was momentum. With these specific requirements, implementation became an easier direct task.
Step 2: Designs to take action on
With requirements done, Kiro guided a design doc that mapped cleanly to CoreModel’s structure:
- Components: argument parser, GPIO manager, command handler, main loop integration
- Data model: a simple gpio_config_t to track pin modes and voltage
- API plan: using established CoreModel calls like coremodel_gpio_set() and coremodel_attach_gpio()
- Error strategy: fail fast, clean up always, no leaks, no undefined behavior
The doc included ASCII diagrams and function signatures, so when coding began, Kiro could easily follow the blueprint it created.
Step 3: Automatic task breakdown
Then Kiro generated an implementation plan:
8 major tasks → 18 subtasks
Each tied back to requirements.
With the tasks created, it was easy to follow the logic that Kiro used to build the code for the solution. It was clear what Kiro was working on and building on top of.
Real-Time CLI Testing and Event Handling
Once the tasks existed, the coding phase was the easiest part of the process.
1) Parsing mixed GPIO specs
The CLI had to support hybrid input/output configs like:
./coremodel-gpio-rw 10.10.0.3:1900 gpio1 0 1=3300 2 3=1800
Meaning:
- pins 0 and 2 → inputs (monitoring)
-
pins 1 and 3 → outputs at 3.3V and 1.8V
Kiro helped me implement robust parsing with strict validation and clear user errors without having to worry about cumbersome argument handling.
2) Integrating stdin into CoreModel’s event loop
CoreModel uses select() for its event loop. I needed to extend it without breaking established flow.
The custom loop:
- calls coremodel_preparefds()
- adds stdin to the read set
- handles both model events and interactive commands
- supports clean shutdown from signals or quit
This was a subtle integration point—and the spec made it predictable.
3) Interactive runtime commands
The CLI supports:
-
set <pin> <voltage>
-
input <pin>
-
output <pin> <voltage>
-
status
-
help
- quit
Every command validates pin range, voltage bounds, and current state. Feedback is instant. The tool feels like a lab instrument, not a dev hack.
4) Serious error handling
Misconfigured pins, attachment failures, API errors, malloc failures—everything emits a meaningful error and cleans up correctly.
The initial spec and acceptance criteria emphasized quality to ensure it was a production ready tool that could be used out of the box.
The result: a real tool, not a demo
The final implementation is ~550 lines of clean, documented C that:
-
compiles without warnings
-
supports complex GPIO scenarios
-
handles failure paths gracefully
-
provides a meaningful developer UX
- fits CoreModel conventions
Kiro was able to produce a usable peripheral-control harness with some debugging afterwards.
Real-world usage
LED control
./coremodel-gpio-rw 10.10.0.3:1900 gpio1 5=3300
> set 5 0
> set 5 3300
Button monitoring
./coremodel-gpio-rw 10.10.0.3:1900 gpio1 10
Bidirectional interaction
./coremodel-gpio-rw 10.10.0.3:1900 gpio1 0=3300 1
# GPIO[gpio1:10] = 3300 mV when pressed
> set 0 0
> set 0 3300
# watch pin 1 respond
This is the kind of control you need for real firmware workflows—not just “logging.”
What Made This Development Process Faster
Specs removed ambiguity
I always knew:
- what Kiro was building
- why it mattered
- how to implement it
- what success meant
Kiro progressed through the tasks because it had laid the groundwork with well thought out requirements and implementation plan.
Kiro understood the codebase
Because Kiro had context from:
-
CoreModel’s existing patterns
-
other examples
-
naming, structures, and build system
Its suggestions were native to the project, not generic boilerplate like an LLM that you copy and paste into or have an integrated co-pilot with.
Incremental wins kept momentum
18 subtasks meant Kiro always had a “next step” small enough to finish, but valuable enough to feel real progress.
Quality was baked in
Doc requirements, edge cases, and graceful shutdown weren’t afterthoughts—they were tasks.
Key Takeaways from Using Kiro for Embedded Systems
Spec-driven development flips the order of work and steering docs keep Kiro in line with your style:
Old way: (multiple days to weeks)
code → discover gaps → redesign → refactor → ship eventually
Kiro way: (3hrs)
requirements → design → tasks → code → ship confidently
The spec becomes living documentation and a map for future maintainers. It explains the “what,” the “how,” and the “why” in one place.
Try it yourself
The new example lives here:
cd coremodel/examples/gpio-rw
make
./coremodel-gpio-rw <vm-address> <gpio-bank> <pin-specs>
If you’re working with Corellium Atlas virtual hardware and want real GPIO control, it’s ready. And if you’re building complex features—especially in low-level code—try Kiro IDE. It’s not “extra process.” It’s a faster path to correct, shippable, production ready software. Take a task that would have taken a team months, and finish it in hours with Kiro. From requirement to code to documentation.
See the Corellium Difference
When it comes to mobile security testing, Corellium is the clear choice to stay ahead of the curve. See all the Corellium platform features.
© 2026 Corellium. Published by JORAL Technologies.
RELATED NEWS
Beyond Code Generation: AI-Assisted Embedded Development with Arm CMSIS
AI coding assistants can generate a UART driver in seconds. But when the output is garbled or an application unexpectedly enters a HardFault handler, the problem may not be obvious from the sourc[...]
Read more
Configuring QA-MISRA for Real-World Embedded C/C++ Projects
Getting QA-MISRA running is only the first part of the setup. For an actual embedded project, you will usually need to decide which coding rules should be checked, how compiler-specific code sho[...]
Read more
Setting Up a QA-MISRA Evaluation License and VS Code Extension
The following steps explain how to activate a QA-MISRA evaluation license, configure the local server, install the QA-MISRA extension in Visual Studio Code, and run an example analysis. 1. Requ[...]
Read more
Using QA-MISRA to Bring Coding Standards into C/C++ Development
In embedded and safety-critical software, coding standards help reduce risky language behaviour, improve consistency, and make software easier to review and verify. This is especially important i[...]
Read more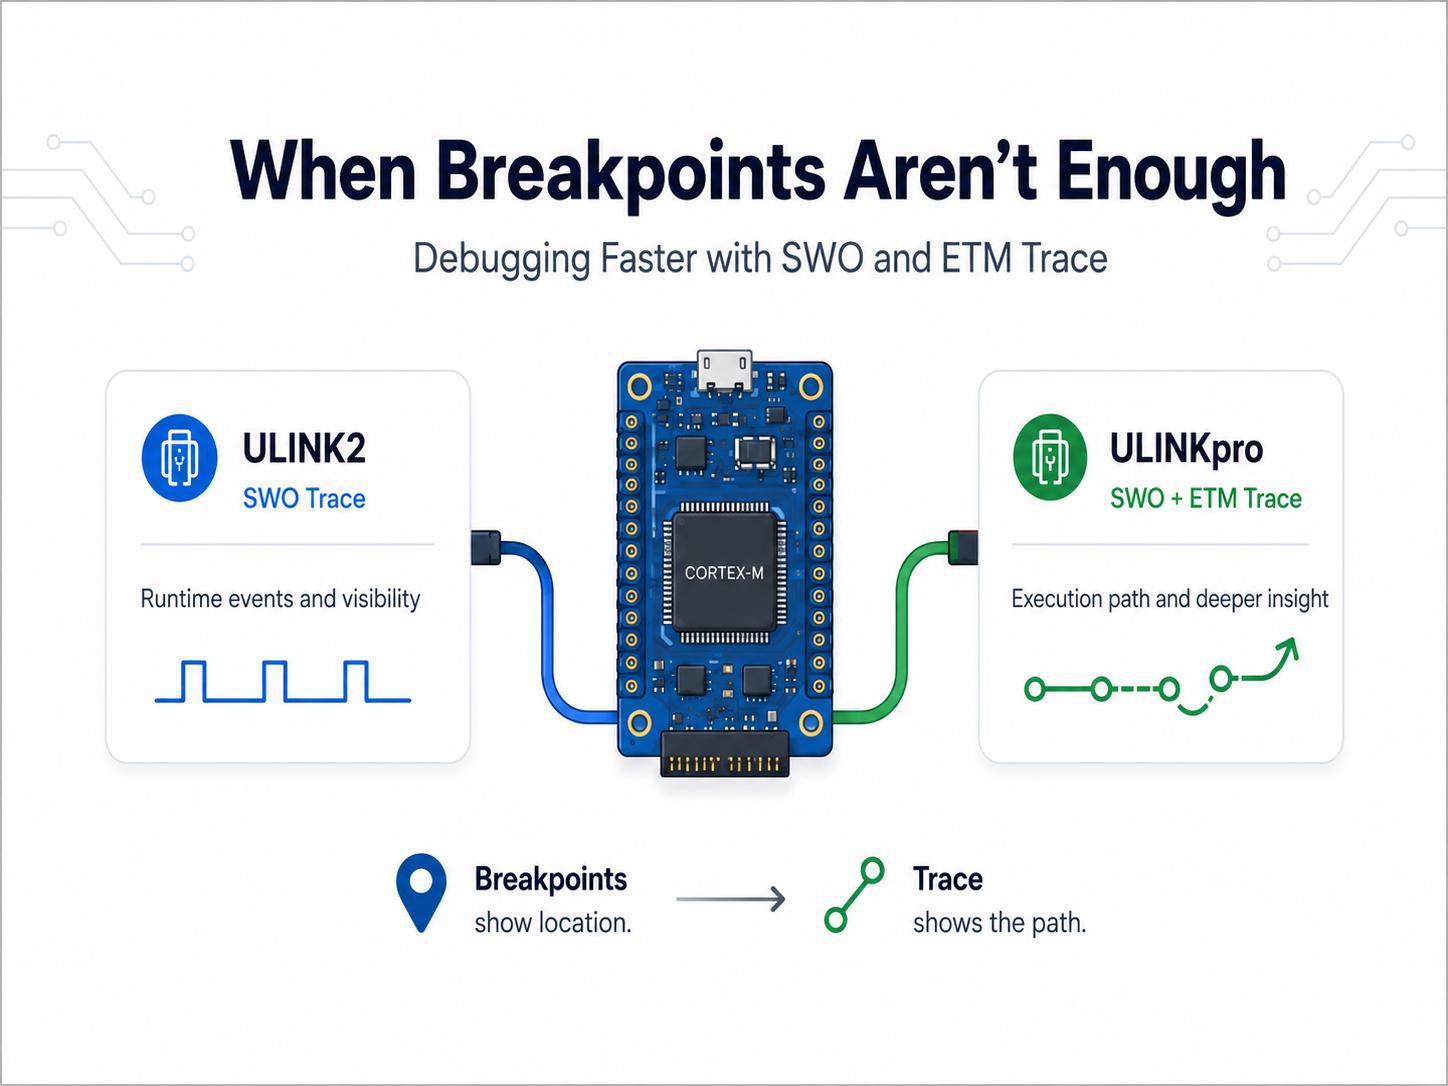
When Breakpoints Aren’t Enough: Debugging Faster with ULINKpro Trace
Most embedded developers are familiar with the usual debugging cycle: set a breakpoint, stop the processor, inspect the problem, make a change, and try again. That works well until the problem [...]
Read more
EMBEDDED IS EVERYWHERE

PRODUCTS
Manufacturers
Resource center